I think I spend more time organizing my craft supplies than actually using them. LOL!!!
A couple years ago, I shared how I organized my dies (posted here) using binders and magnetic vent covers:

Well, I have come up with a different method for storing and organizing my die collection. I'm still going to use the binder method for storing my Spellbinders dies. I'm using the new storage method for various single, thin dies.
I started off by making my own plastic pockets. I looked at buying the clear pockets, but 1) they didn't make them in the size I needed and 2) it got to be quite expensive for how many I needed.
How did I make my own clear pockets? Answer....By using my Foodsaver and regular sized sheet protectors. You can buy a box of 100 sheet protectors from Office Depot for less than $20. I happened to buy mine at a garage sale for a couple bucks. ETA: I used the heavy weight sheet protectors.

I started off by cutting off the hole punched edge. I cut the sheet protectors to the size I wanted which gave me a set of 4 per sheet. I used the Foodsaver to seal the edges. They turned out like this:

I cut magnetic vent covers to fit into the pockets.

I categorized the dies and placed them into a card rack. I found this card rack at a local craft store's warehouse sale a couple weeks ago. I thought it was a steal at $10.


What I like about this new storage system is that they are categorized by theme, the rack spins and I can just flip through them to find the die I need. This is so much easier than going through binder after binder to find the right die. Originally, I was storing them by company but it made more sense to store them by theme. I printed labels with the names of the company and die and adhered them to the back of each set.
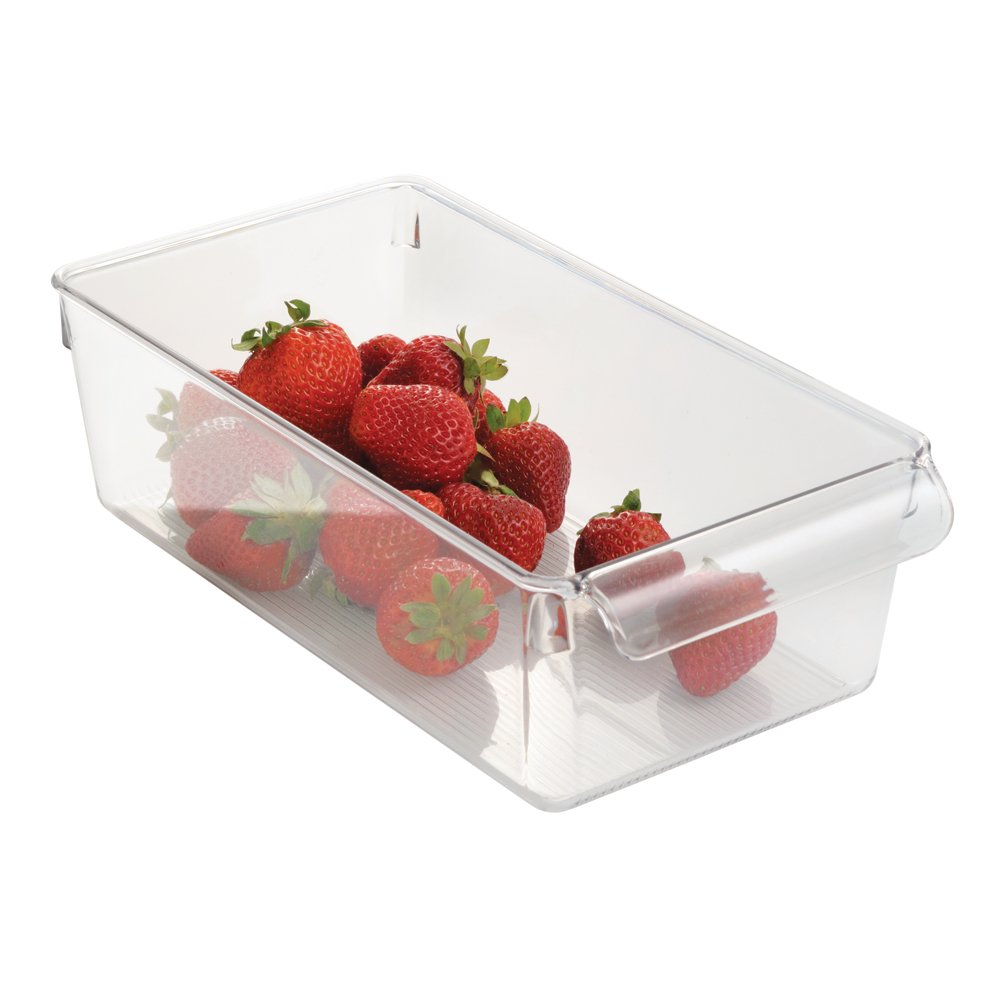
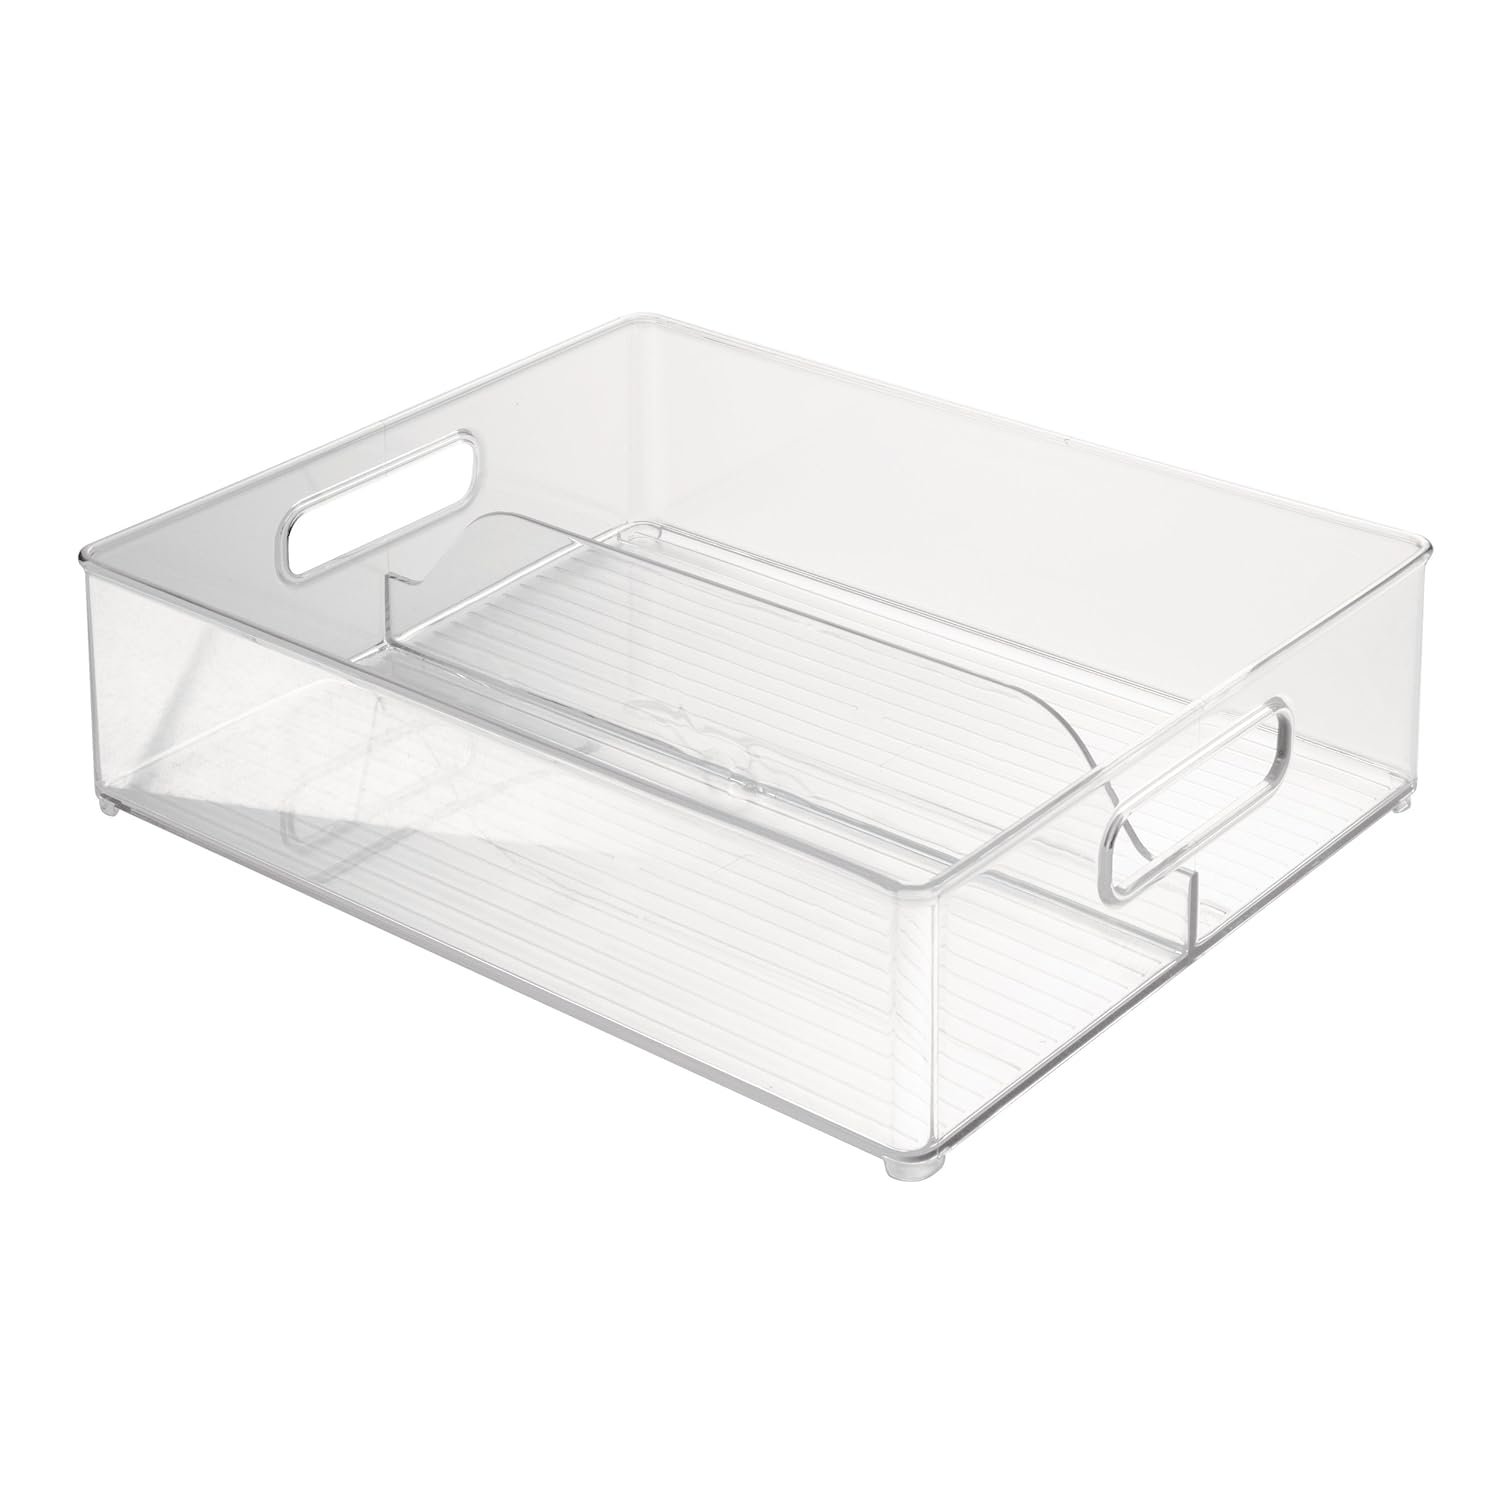
Many of you probably don't own a card rack or don't have the space for one. Another option would be use plastic bins to store the die pockets:
Jennifer McGuire uses them for her die storage:

I'm off to finish reorganizing my dies. It's amazing how many dies I have collected!! Maybe with this new and improved storage system, I'll be inclined to use them. LOL!!
ETA: Here are the categories I used:
Winter (including Christmas)
Home
Floral
Nature (clouds, rain, etc)
Elements (flourishes, doilies, shapes, etc)
Cover Up
Animals
Butterflies (I seem to love collecting butterfly dies that I have to have it as a category!! LOL)
Bugs/Insects
Food
Holidays (Vday, Easter, Halloween, etc)
Celebrations (Birthday, graduation, etc)
Sea (shells, waves, seaweed, etc)
Other (cars, handbags, fire hydrant, hot air balloon, cityscapes....basically anything that doesn't fit the above categories)
Hope this helps with getting your dies organized. :)
Blessings,


